Automate sending letters to your New Patients and send their chart notes to their Primary Care Physician. It’s easy using an automated letter.
Here’s how in four easy steps:
Step 1. Write an Automated Letter
Choose Automated Letters from the Lists menu and click the NEW button. Format the letter as you would using any word processor. Use the codes below to automatically enter patient data into the letter.
For example, enter <firstname> wherever you want the patient’s first name to appear.
Use this table below for the codes for other patient information:
| Insert this: | When you enter this: |
|---|---|
| Patient's First Name | <firstname> |
| Patient's Last Name | <lastname> |
| Patient's Street | <street> |
| Patient's City | <city> |
| Patient's State | <state> |
| Patient's Zip | <zip> |
| Patient's Birthdate | <birthdate> |
| Patient's Last Exam Date | <lastexam> |
| Patient's Preferred Doctor in your Practice | <doctor> |
| Today's date (long) | <longdate> |
| Today's date (short) | <shortdate> |
| Today's date (mm/dd/yy) | <date> |
| Current time | <time> |
| Patient's total balance | <totalbalance> |
| Patient balance | <ptbalance> |
| Referring doctor first name | <ref_firstname> |
| Referring doctor last name | <ref_lastname> |
| Referring doctor street | <ref_street> |
| Referring doctor city | <ref_city> |
| Referring doctor state | <ref_state> |
| Referring doctor zip | <ref_zip> |
Step 2. Select your Preferred New Patient Letter (or Doctor Letter) in the Preferences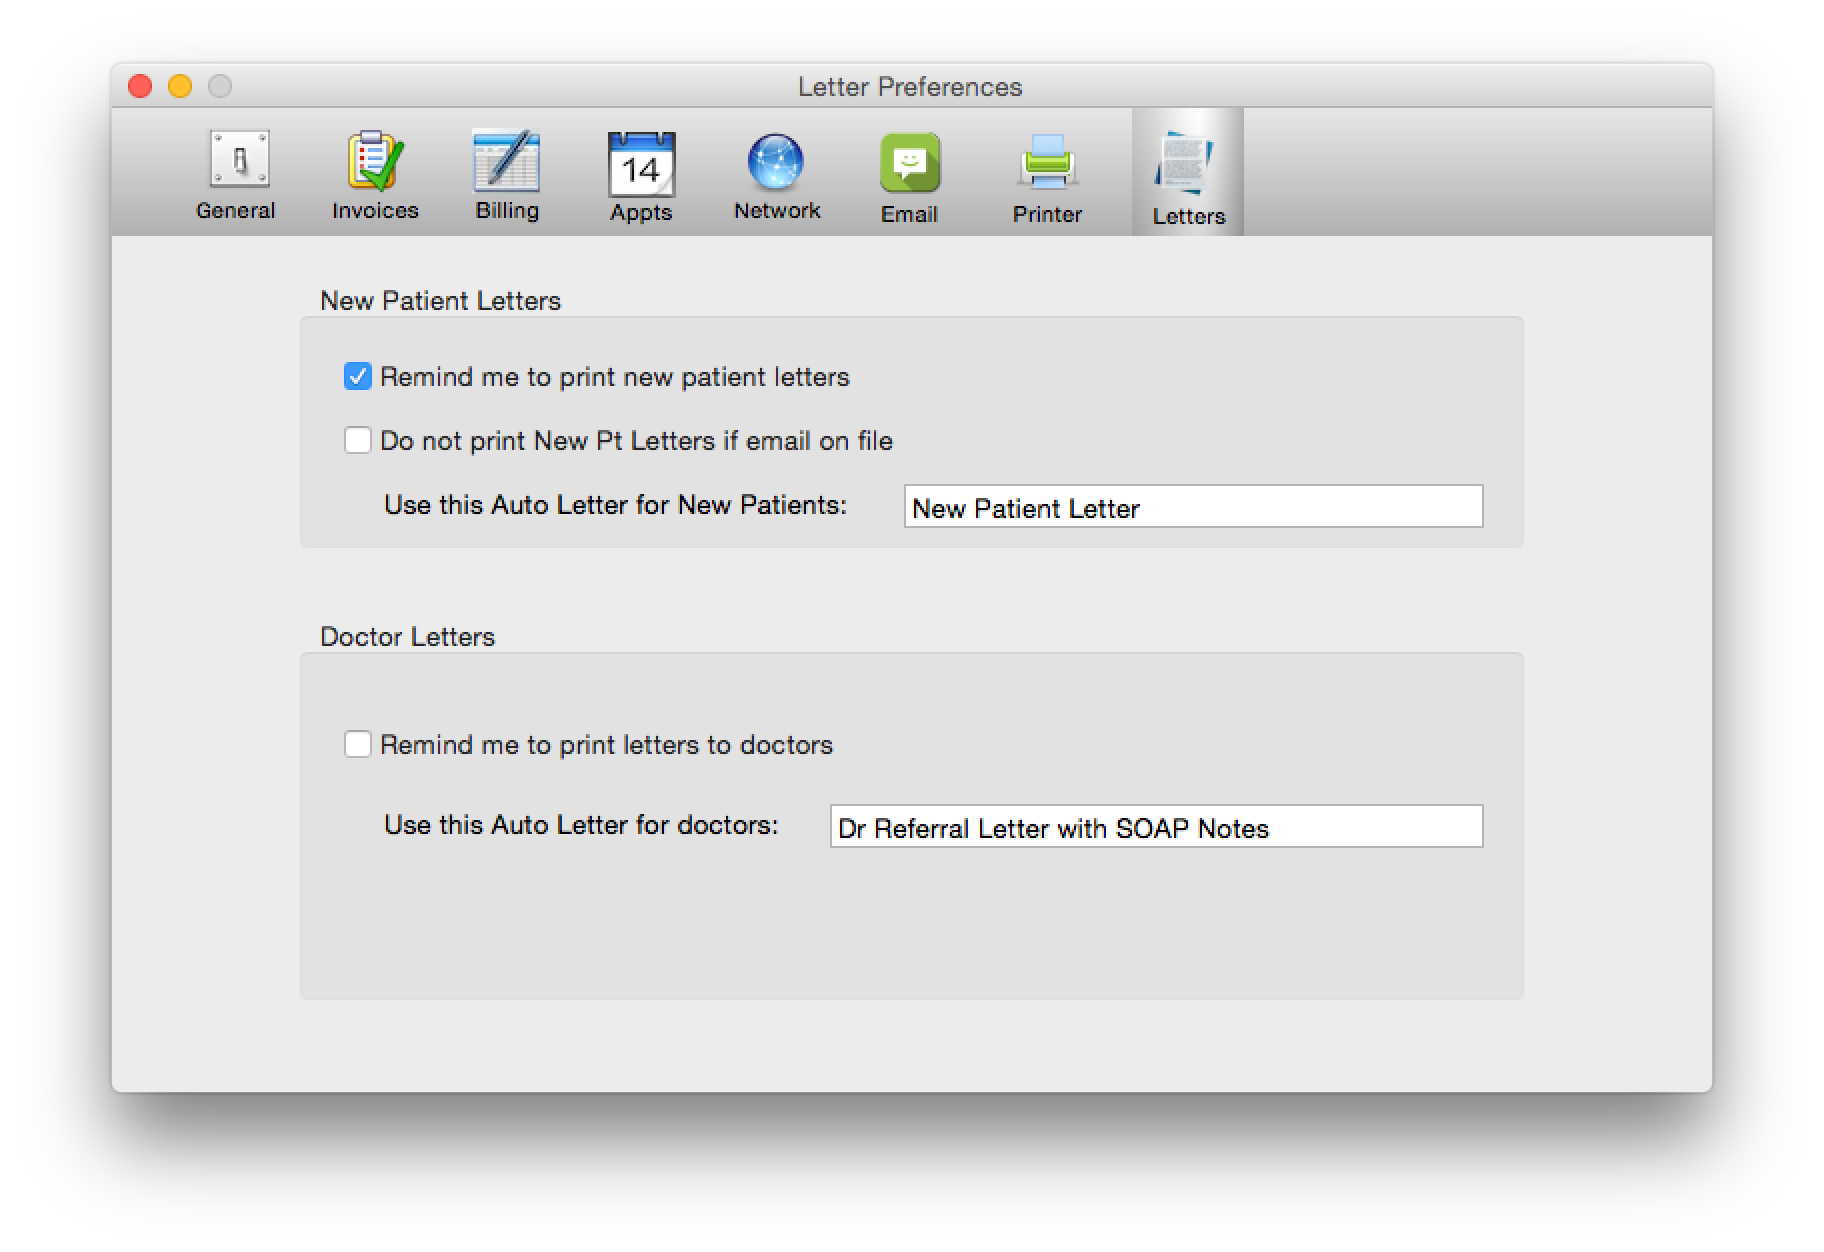
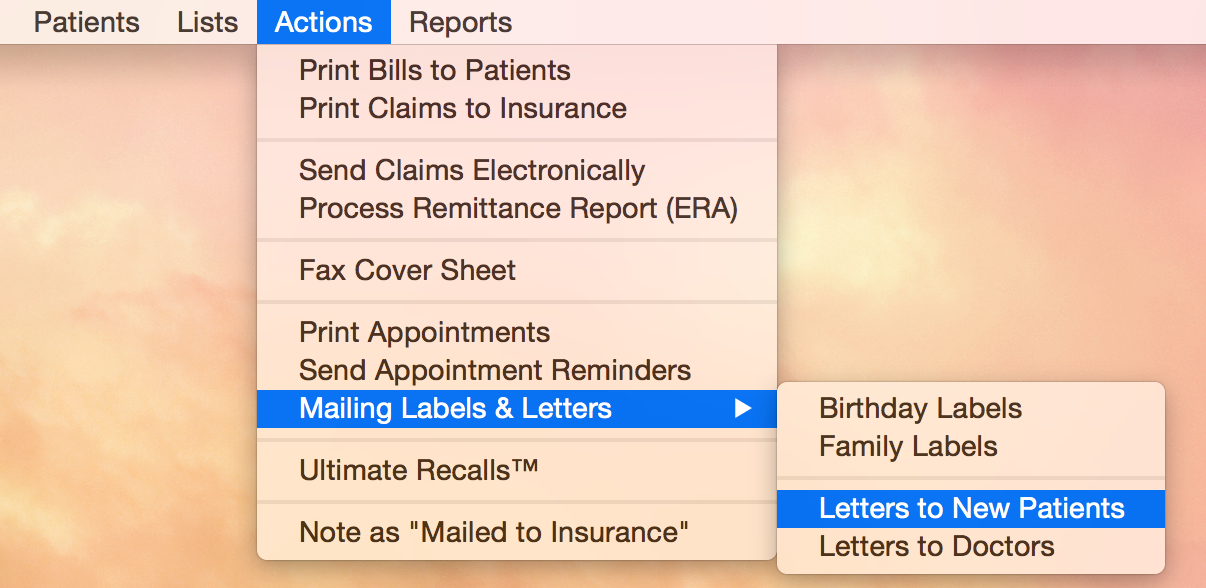
Step 3. Choose Print New Patient Letters from the Actions menu
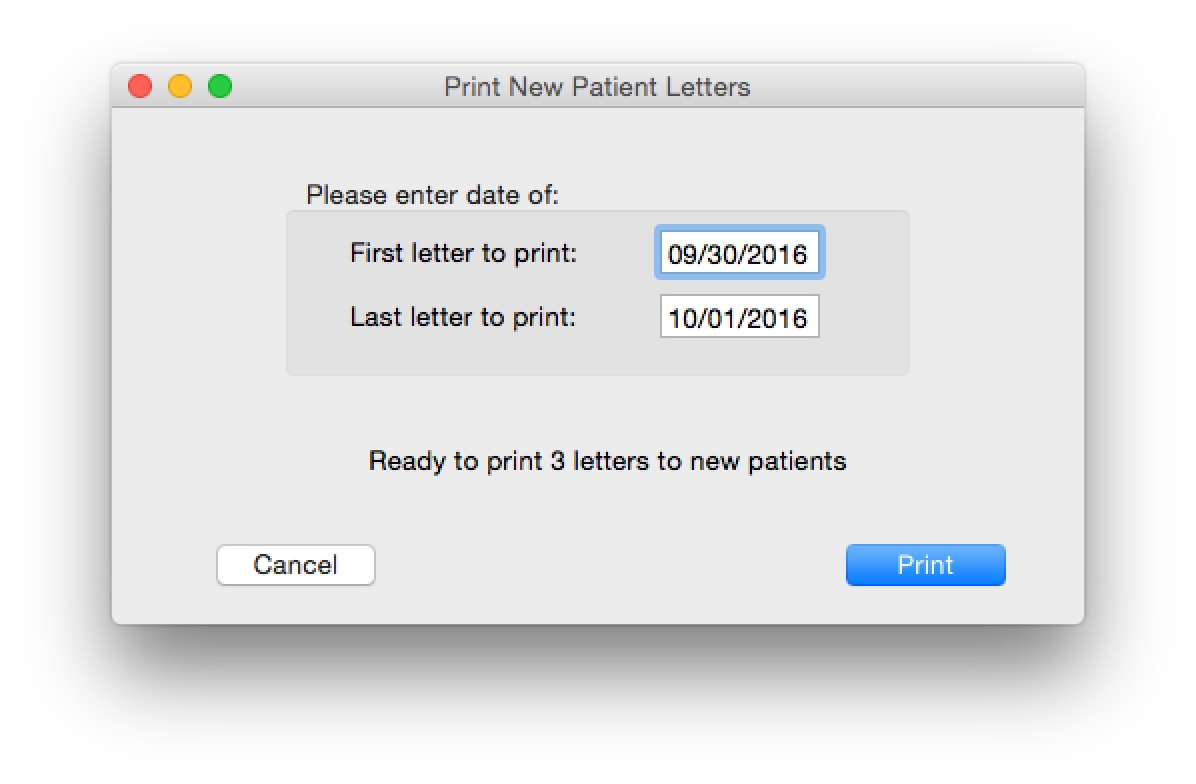
Step 4. Check the Date Range and click the Print button
Now that you are all set up to print automated new patient letters and doctor letters, simply do steps 3 and 4 the next time you are ready to go.
Don’t forget, you can always print a letter for a single patient using the Print Auto Letter from the More menu when viewing the Patient Information screen.
When printing letters to doctors, if an EMR note is found for that patient, it will also print, so you can attach it to the letter.
If you would like a template for a New Patient Letter or a Doctor Letter, just send us an email and I will send you text that you can copy and paste into your letter. You can then modify the letter however you like.